
I've been puzzling all week about how to make a birthday card for the kid that's about to be four! Well, this afternoon, I finally relaxed and let my ordinarily very expressive self come back to life. I don't profess to be an artist, but I do like to have fun with pen and ink and my wacom tablet and photoshop. I take the attitude that if I like it, then you must also!
Here's how....first, do the line drawing in photoshop. I used my wacom bamboo tablet. The eraser tool can always take away unwanted areas, but I don't stress over lines outside the box.
Here's an easy way to color within. (1) select an area of the image using the magic wand tool in the tool bar.
(2) double-click on the foreground color box at the bottom of the tool bar and open the color picker palette. Select a color and click OK. The new color should display in the foregound color box.
(3) On the top menu bar, go to the drop-down menu edit, then fill, then select foreground color from the fill dialog box and click OK.
(4) The section will be filled with the foreground color. Continue selecting each area and use as many colors as desired to make your image happy.
Hint: As you are drawing, make sure the drawn lines are closed. That allows you to select each closed area to paint within.
Now print this on fabric, as I did, or on cardstock, sign your name and you have an original card each and every time you need one!
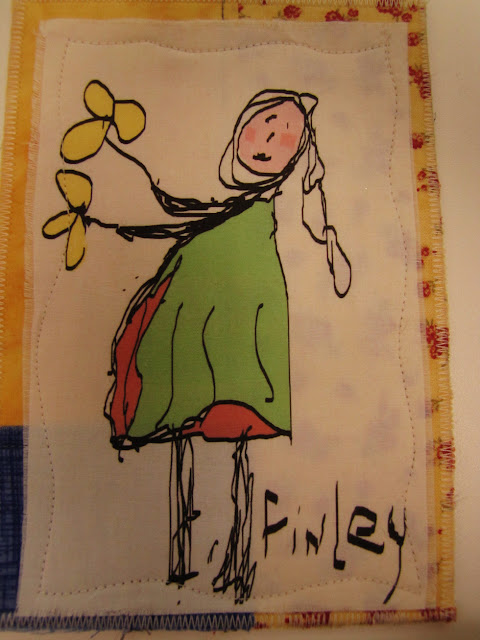
I found a few complimentary scraps of fabric, stitched them together then stitched Finley's picture on top of that. I like to use the sticky sided heavy pellon to sandwich between the front and back fabric of my fabric cards. They can then be propped on one of those little artists' easels for easy display.


 View from Bayview Market
 Owner/Chef Dockside Bistro - Laurie Nguyen prepared a most delicious meal at the Bayview Cooking School. Seared scallops with curried sauce, asian slaw with bamboo rice, beef tendorloin skewers and much more. Not a meal for the faint of heart!
 Where the beads are embedded in the sidewalk - makes quite a beading statement!
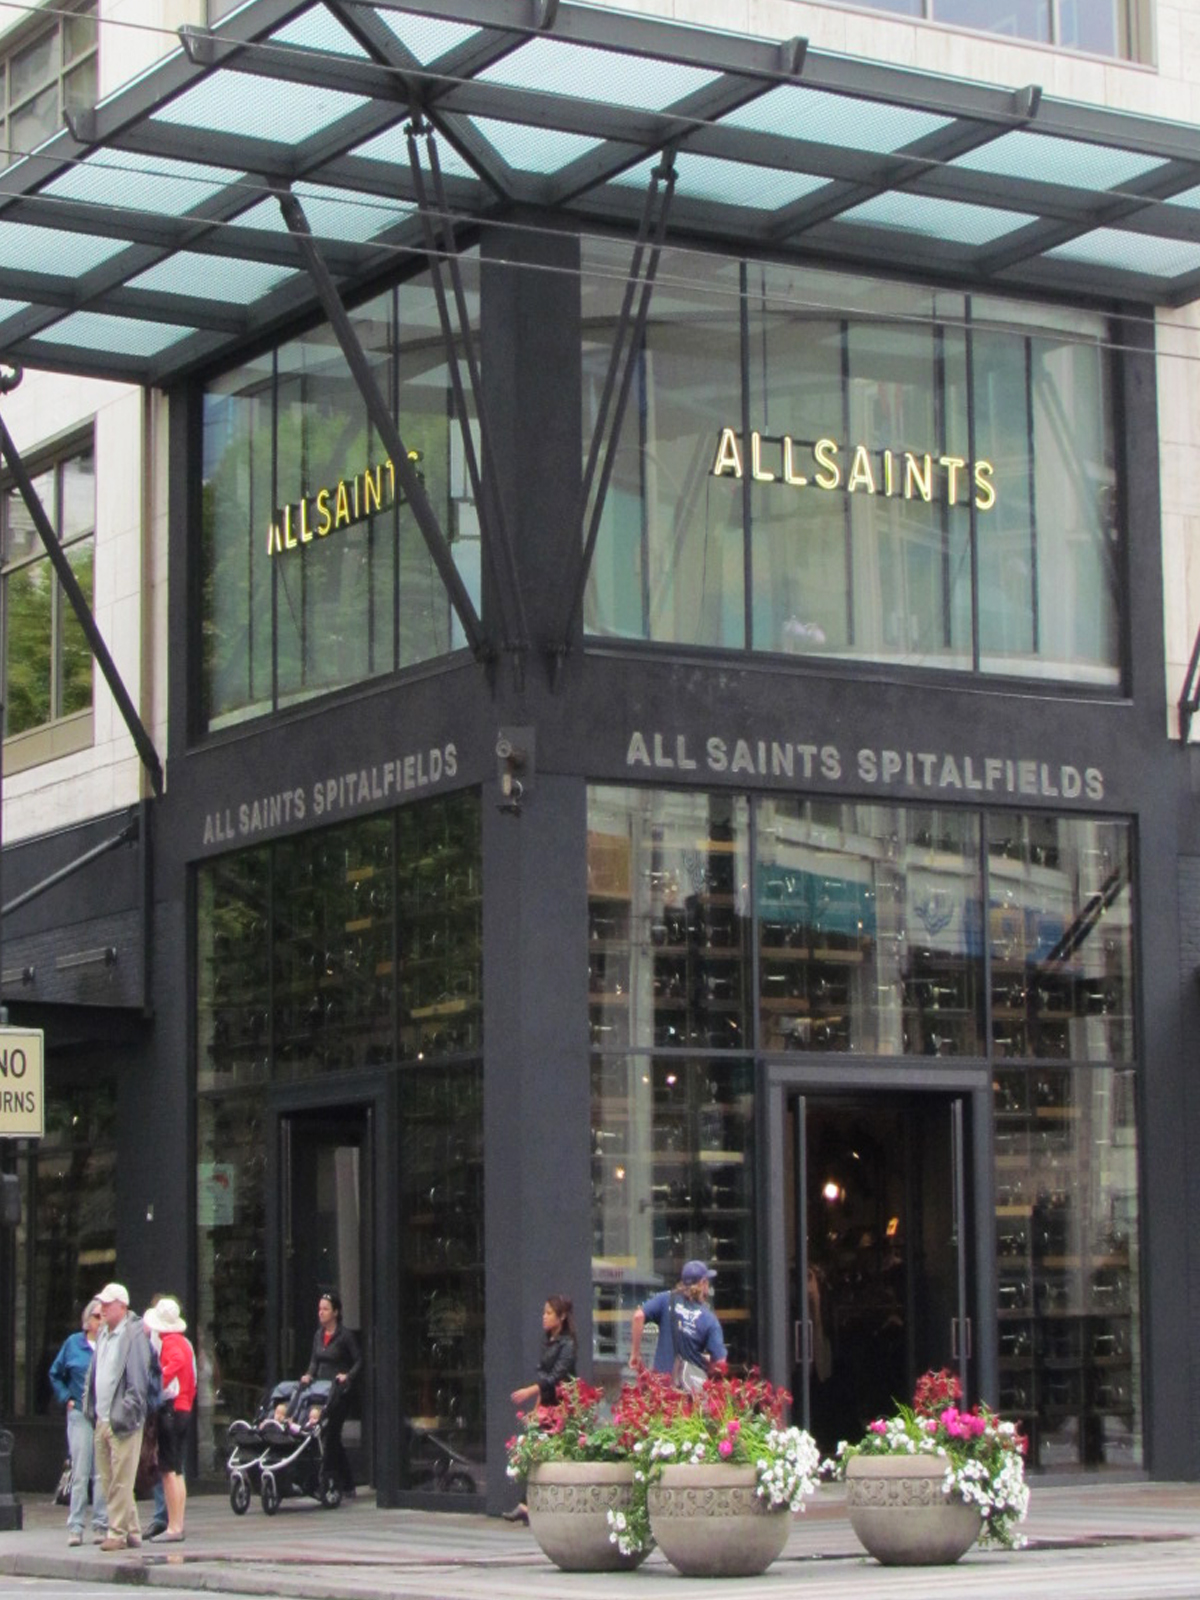
 Then we were off to Dockside Bistro on the dockside of Budd Bay for lunch. The doorway reflections give you a hint of the beauty of it all.


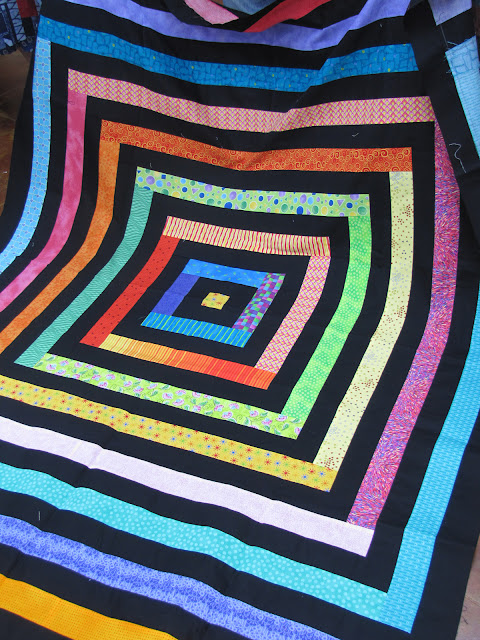
 Just a quick note this morning....Have I mentioned that I subscribe to the Stitch Magazine newsletter. Tricia Waddell...Editor in Chief...never ceases to inspire me. I don't think I have enough plaid to make this table runner - a Kevin Kosbab design - but I know I have enough other fabrics to make a rendition of it. Here's the link to subscribe to Tricia's newsletter. I'm off and sewing and will drop by later. Happy day!


 Now, you're gonna want to save this baby to use over and over! So, to begin, make sure the size of your image is no larger than 2400 pixels. Keyboard shortcut ctrl >alt>i. Neither the width, nor height may be more than 2400 px or your brush will not save but you want it as large as you can get it...so just increase or decrease your pixels to get the largest side to 2400 px.


 I found a few complimentary scraps of fabric, stitched them together then stitched Finley's picture on top of that. I like to use the sticky sided heavy pellon to sandwich between the front and back fabric of my fabric cards. They can then be propped on one of those little artists' easels for easy display.
  an 8" x 10" gradation in red fabric....the green gradation, blue, beige and, and are still in my head or on the design wall or under the sewing machine foot! Singing hallelujah! It's Friday.


